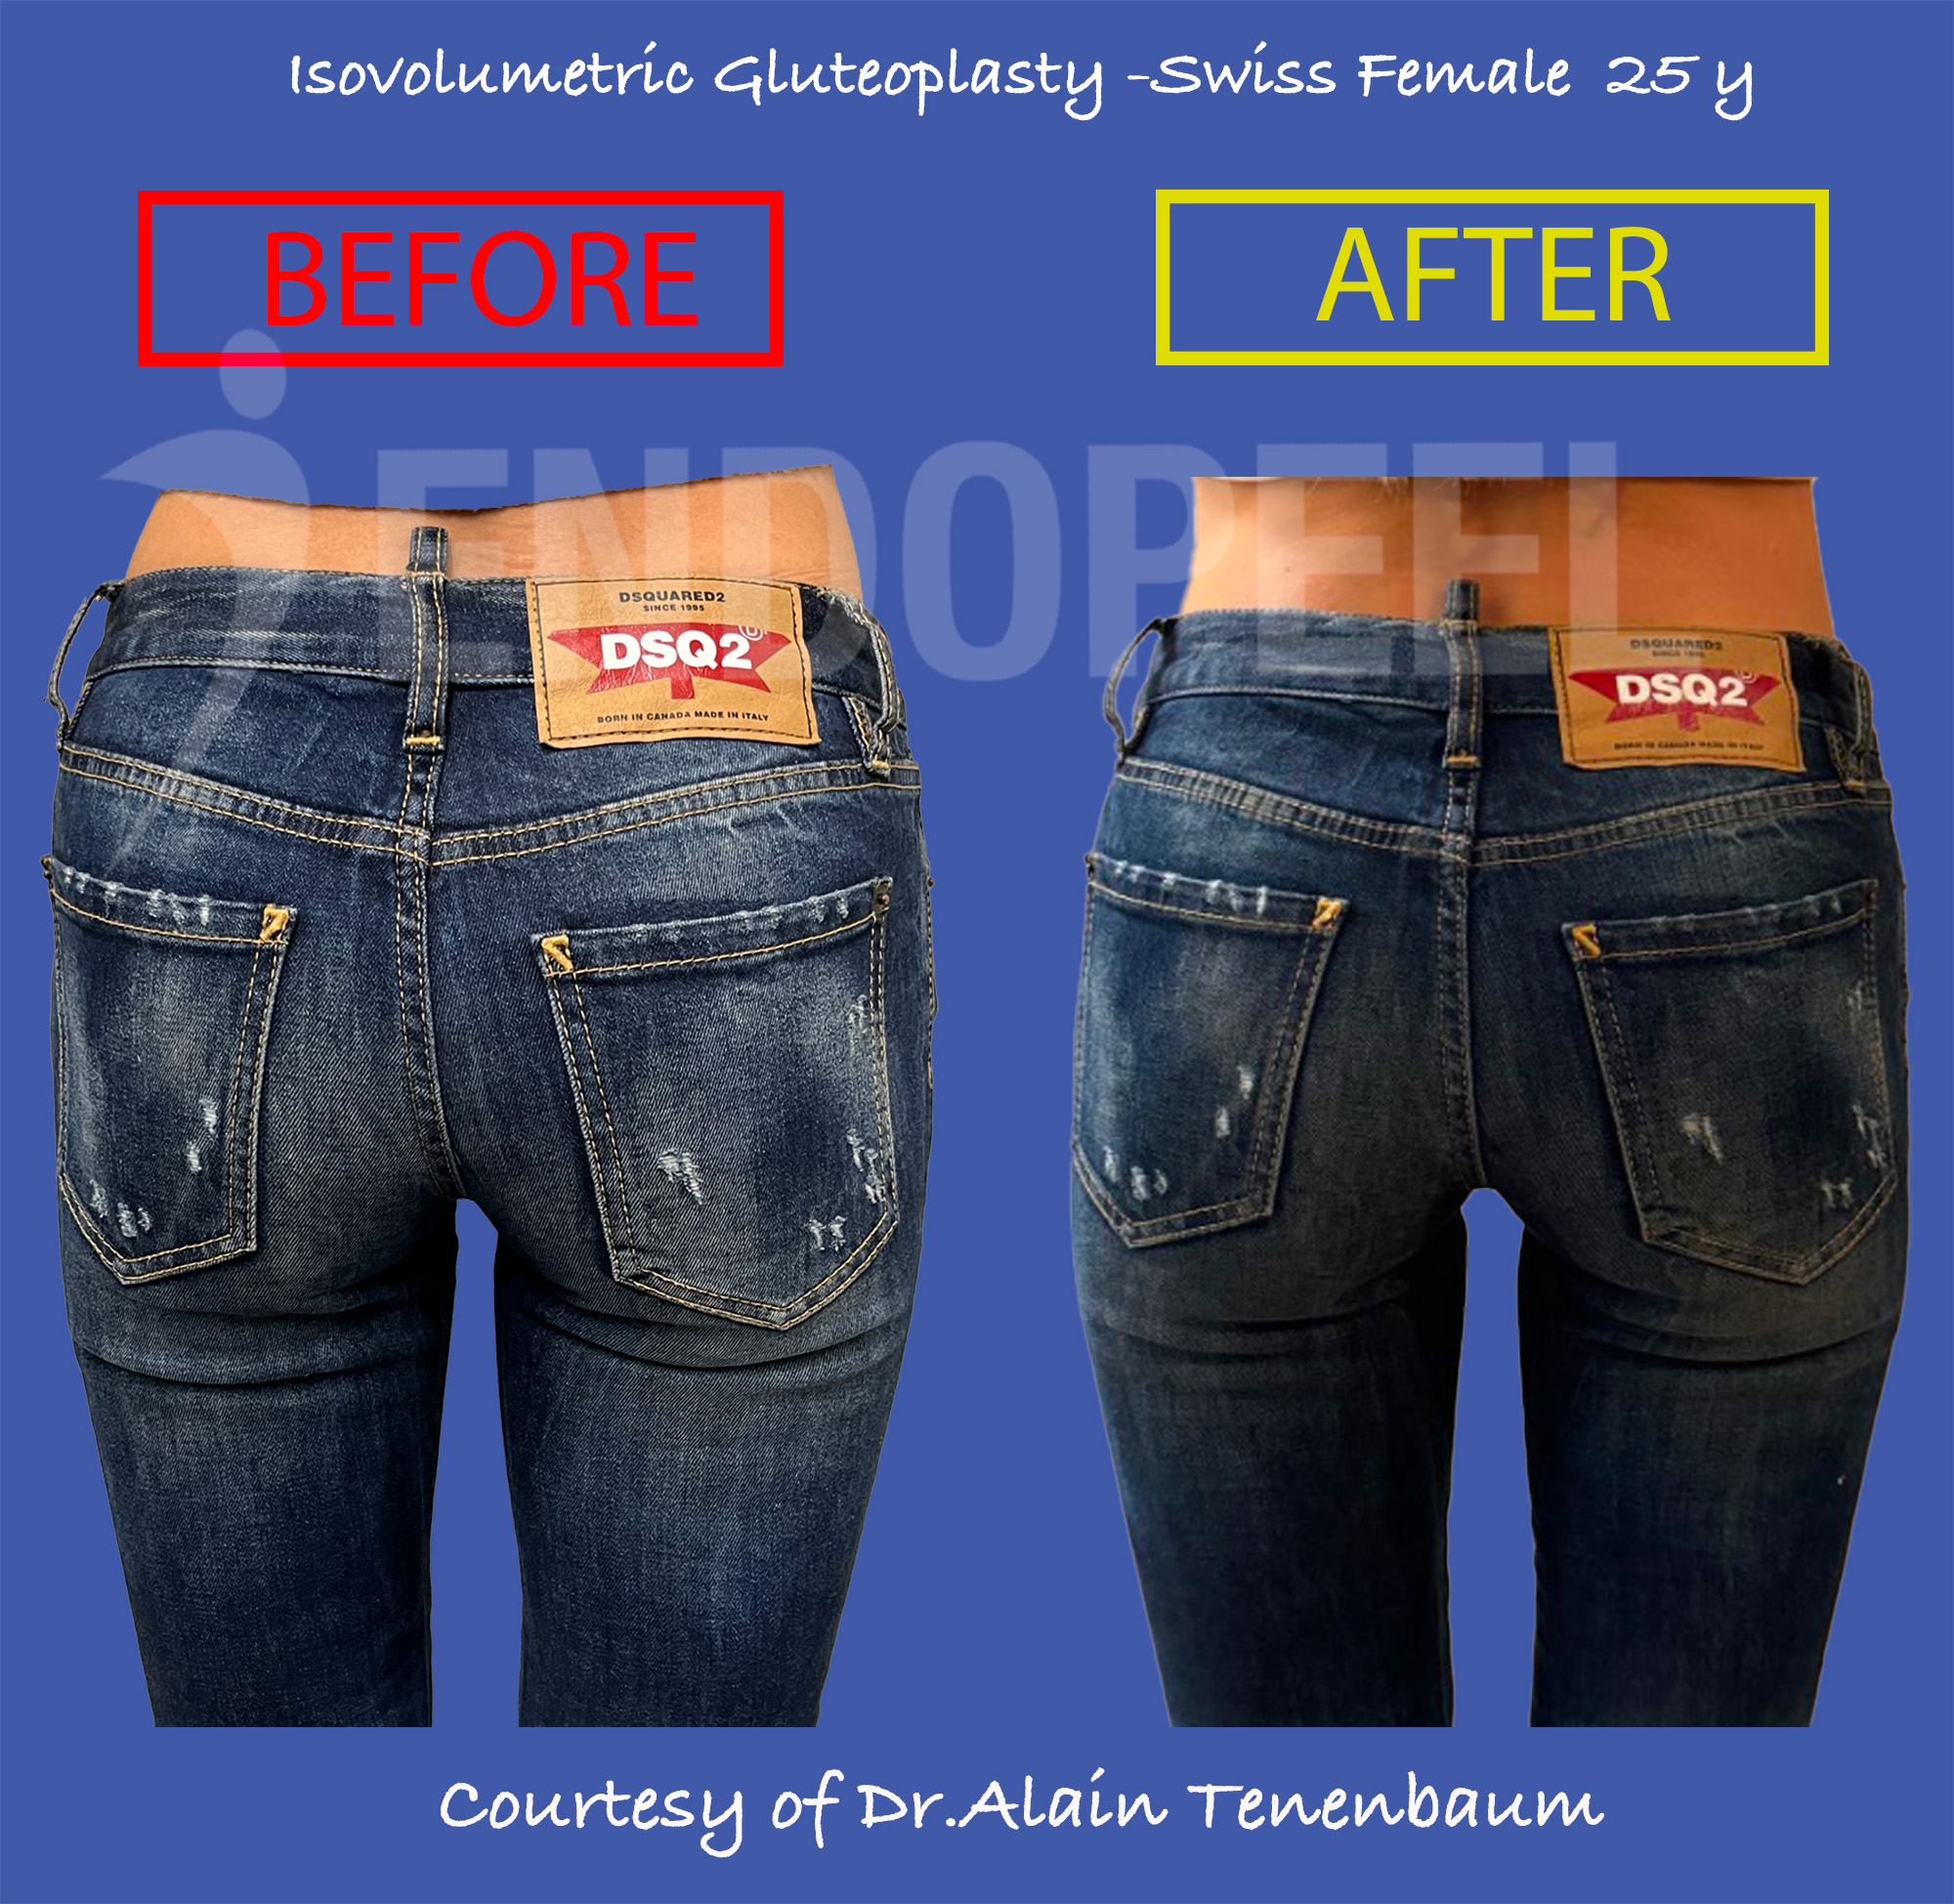
01 · Assess
Begin with suitability and the patient’s intended contour.

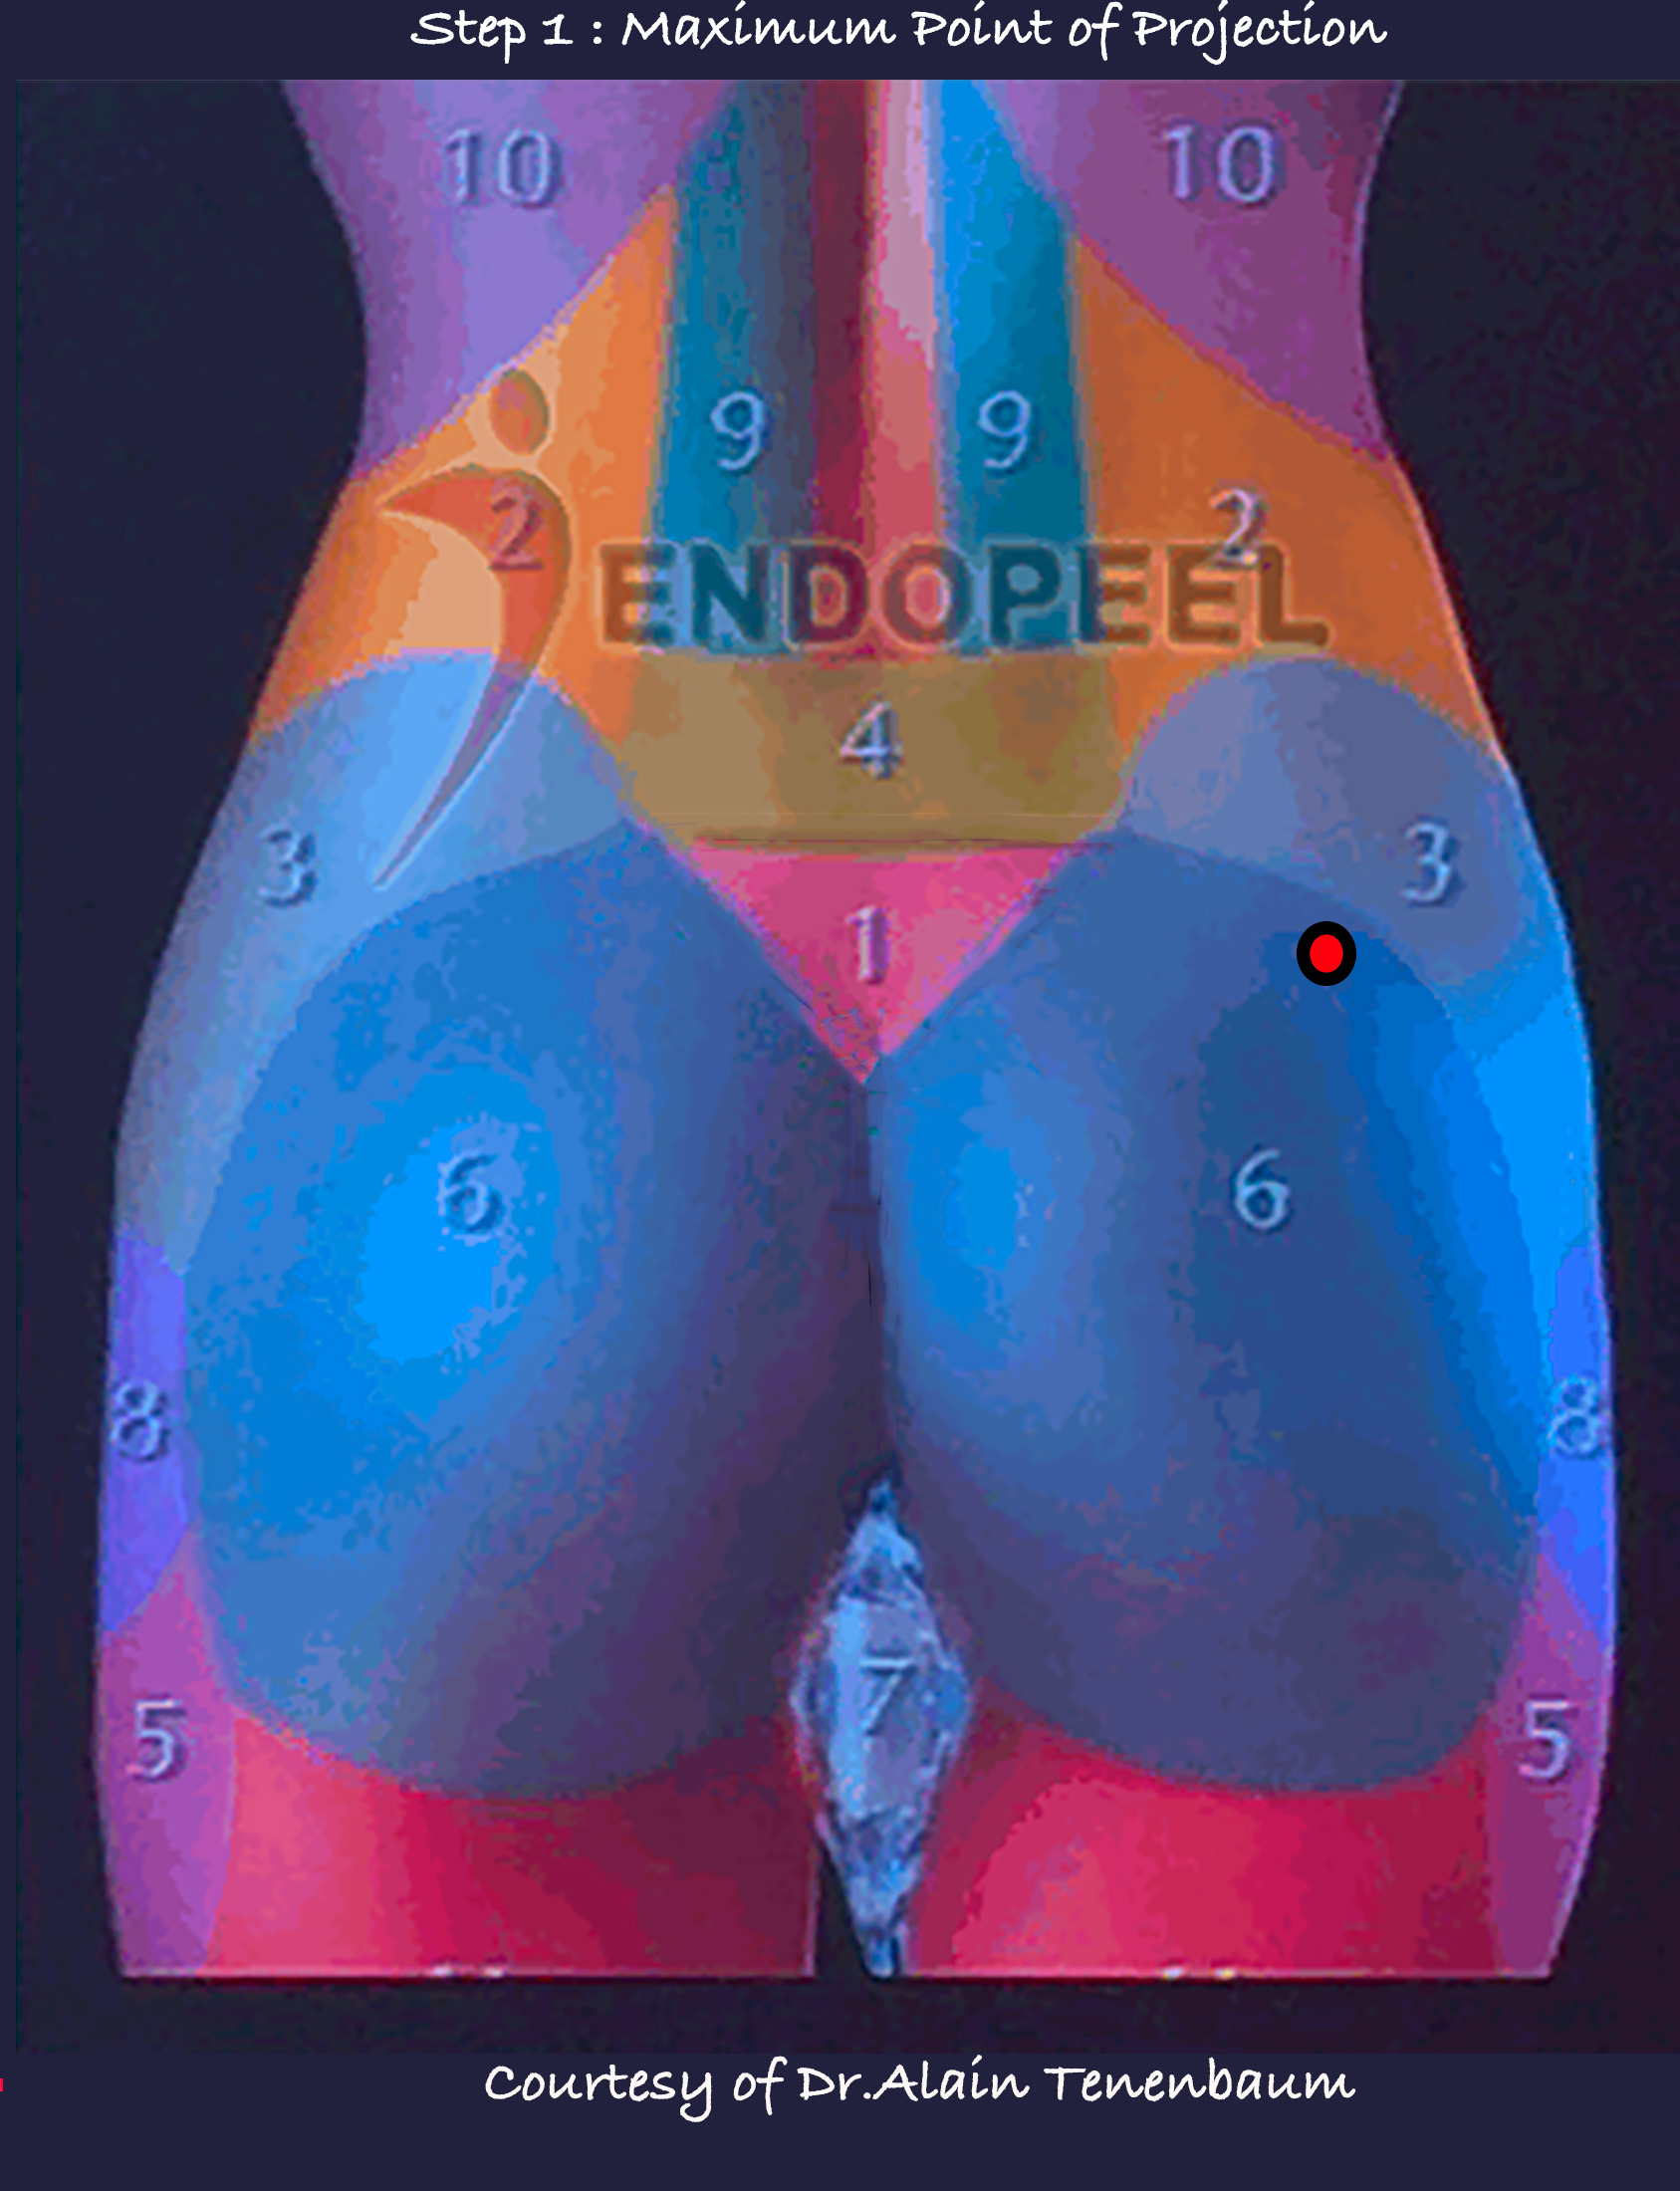
Clinical sequence · Step 03 of 16
Surface mapping
Locate the point of maximal projection within the patient’s overall gluteal contour. The dedicated reference explains its place in the marking sequence.
Read this point together with the other surface landmarks.
Clinical sequence · Step 04 of 16
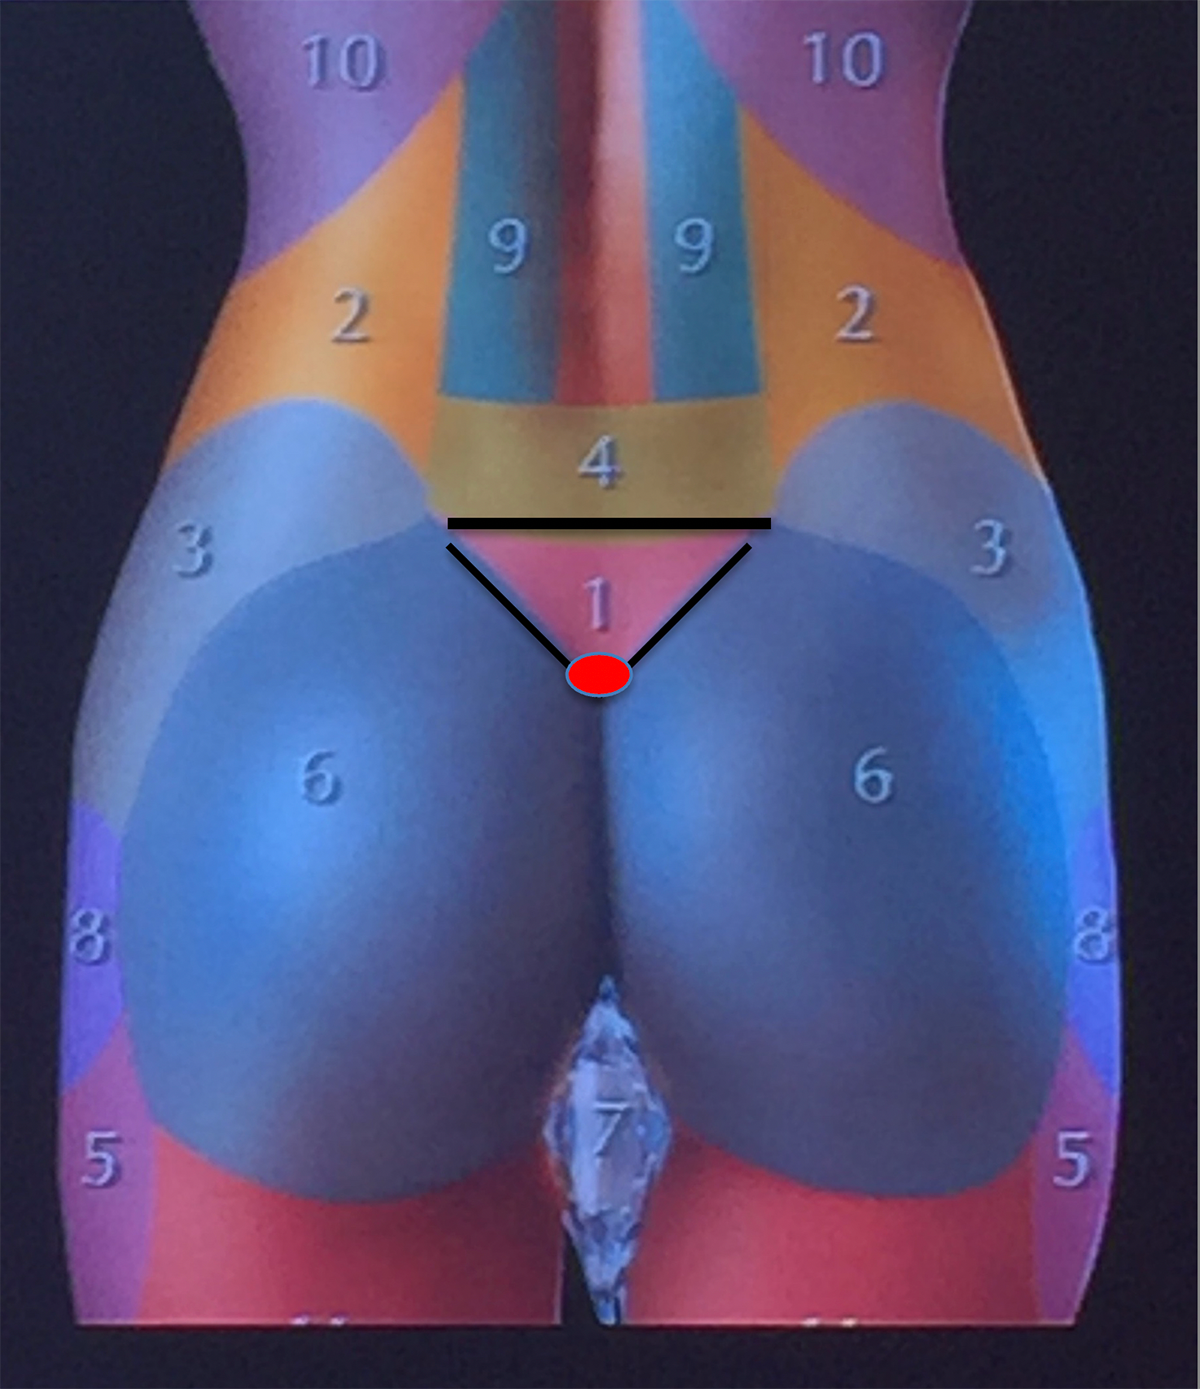
Surface mapping
The sequence identifies the inferior point of the presacral triangle as a reference in the surface map.
Connect the triangle with the gluteal outline and adjacent landmarks.
Clinical sequence · Step 05 of 16
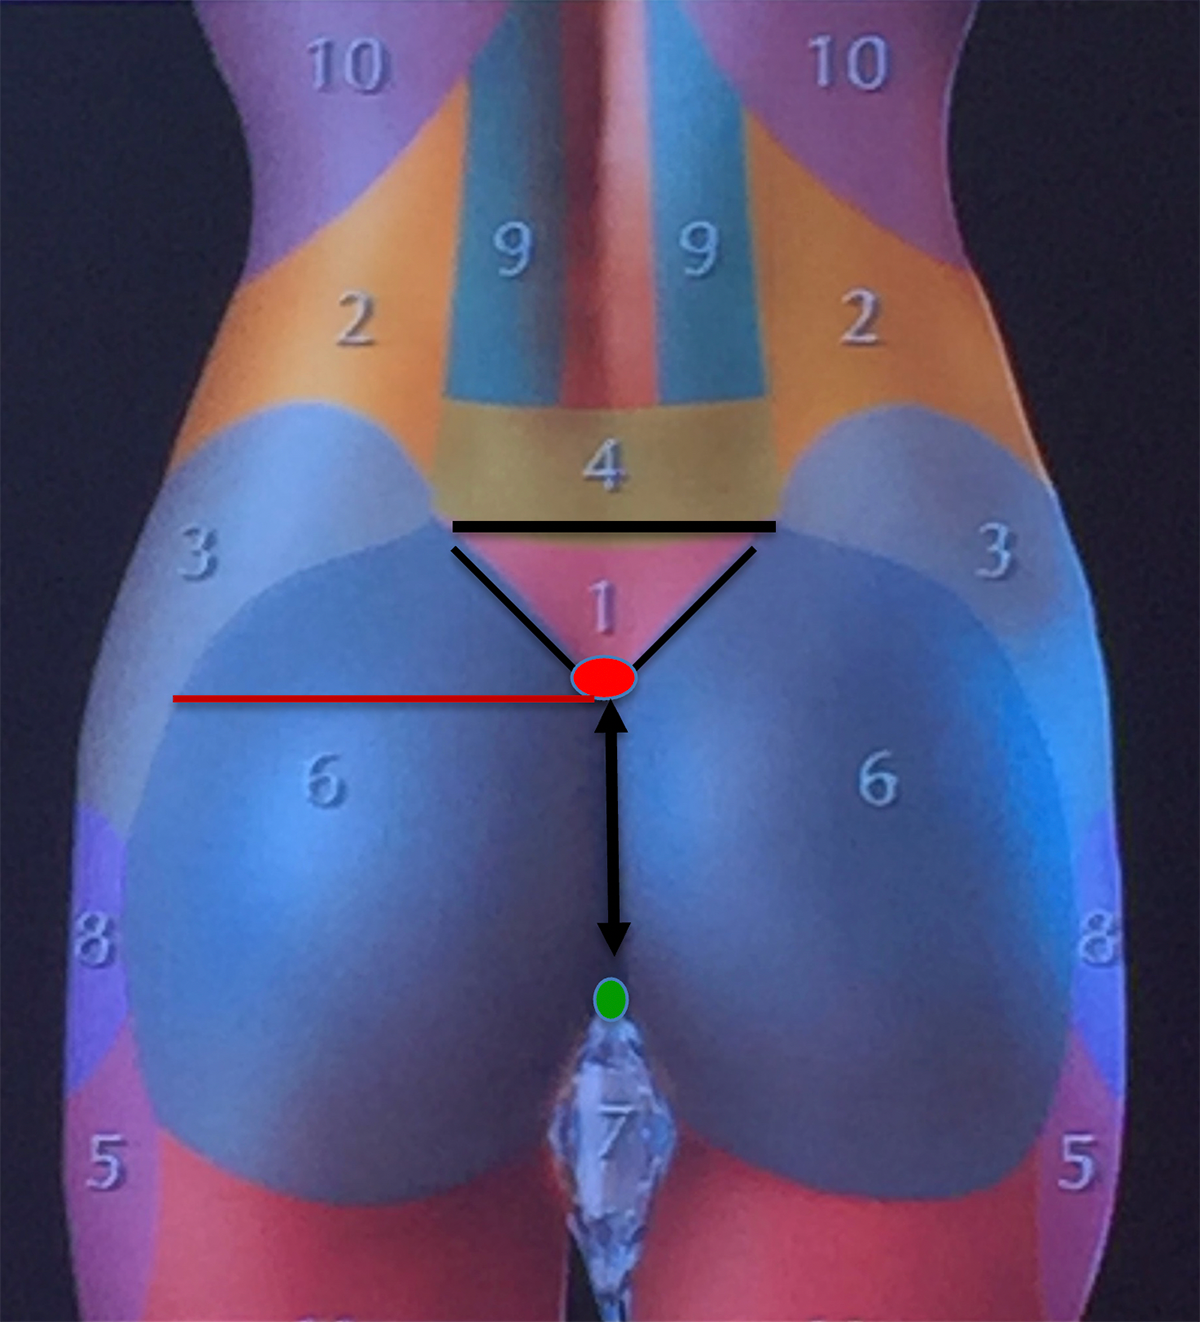
Surface mapping
The horizontal red line forms a distinct reference in the original clinical sequence. Open the detailed page to understand its role in the marking framework.
Interpret the line within the complete clinical map.
Clinical sequence · Step 06 of 16
Surface mapping
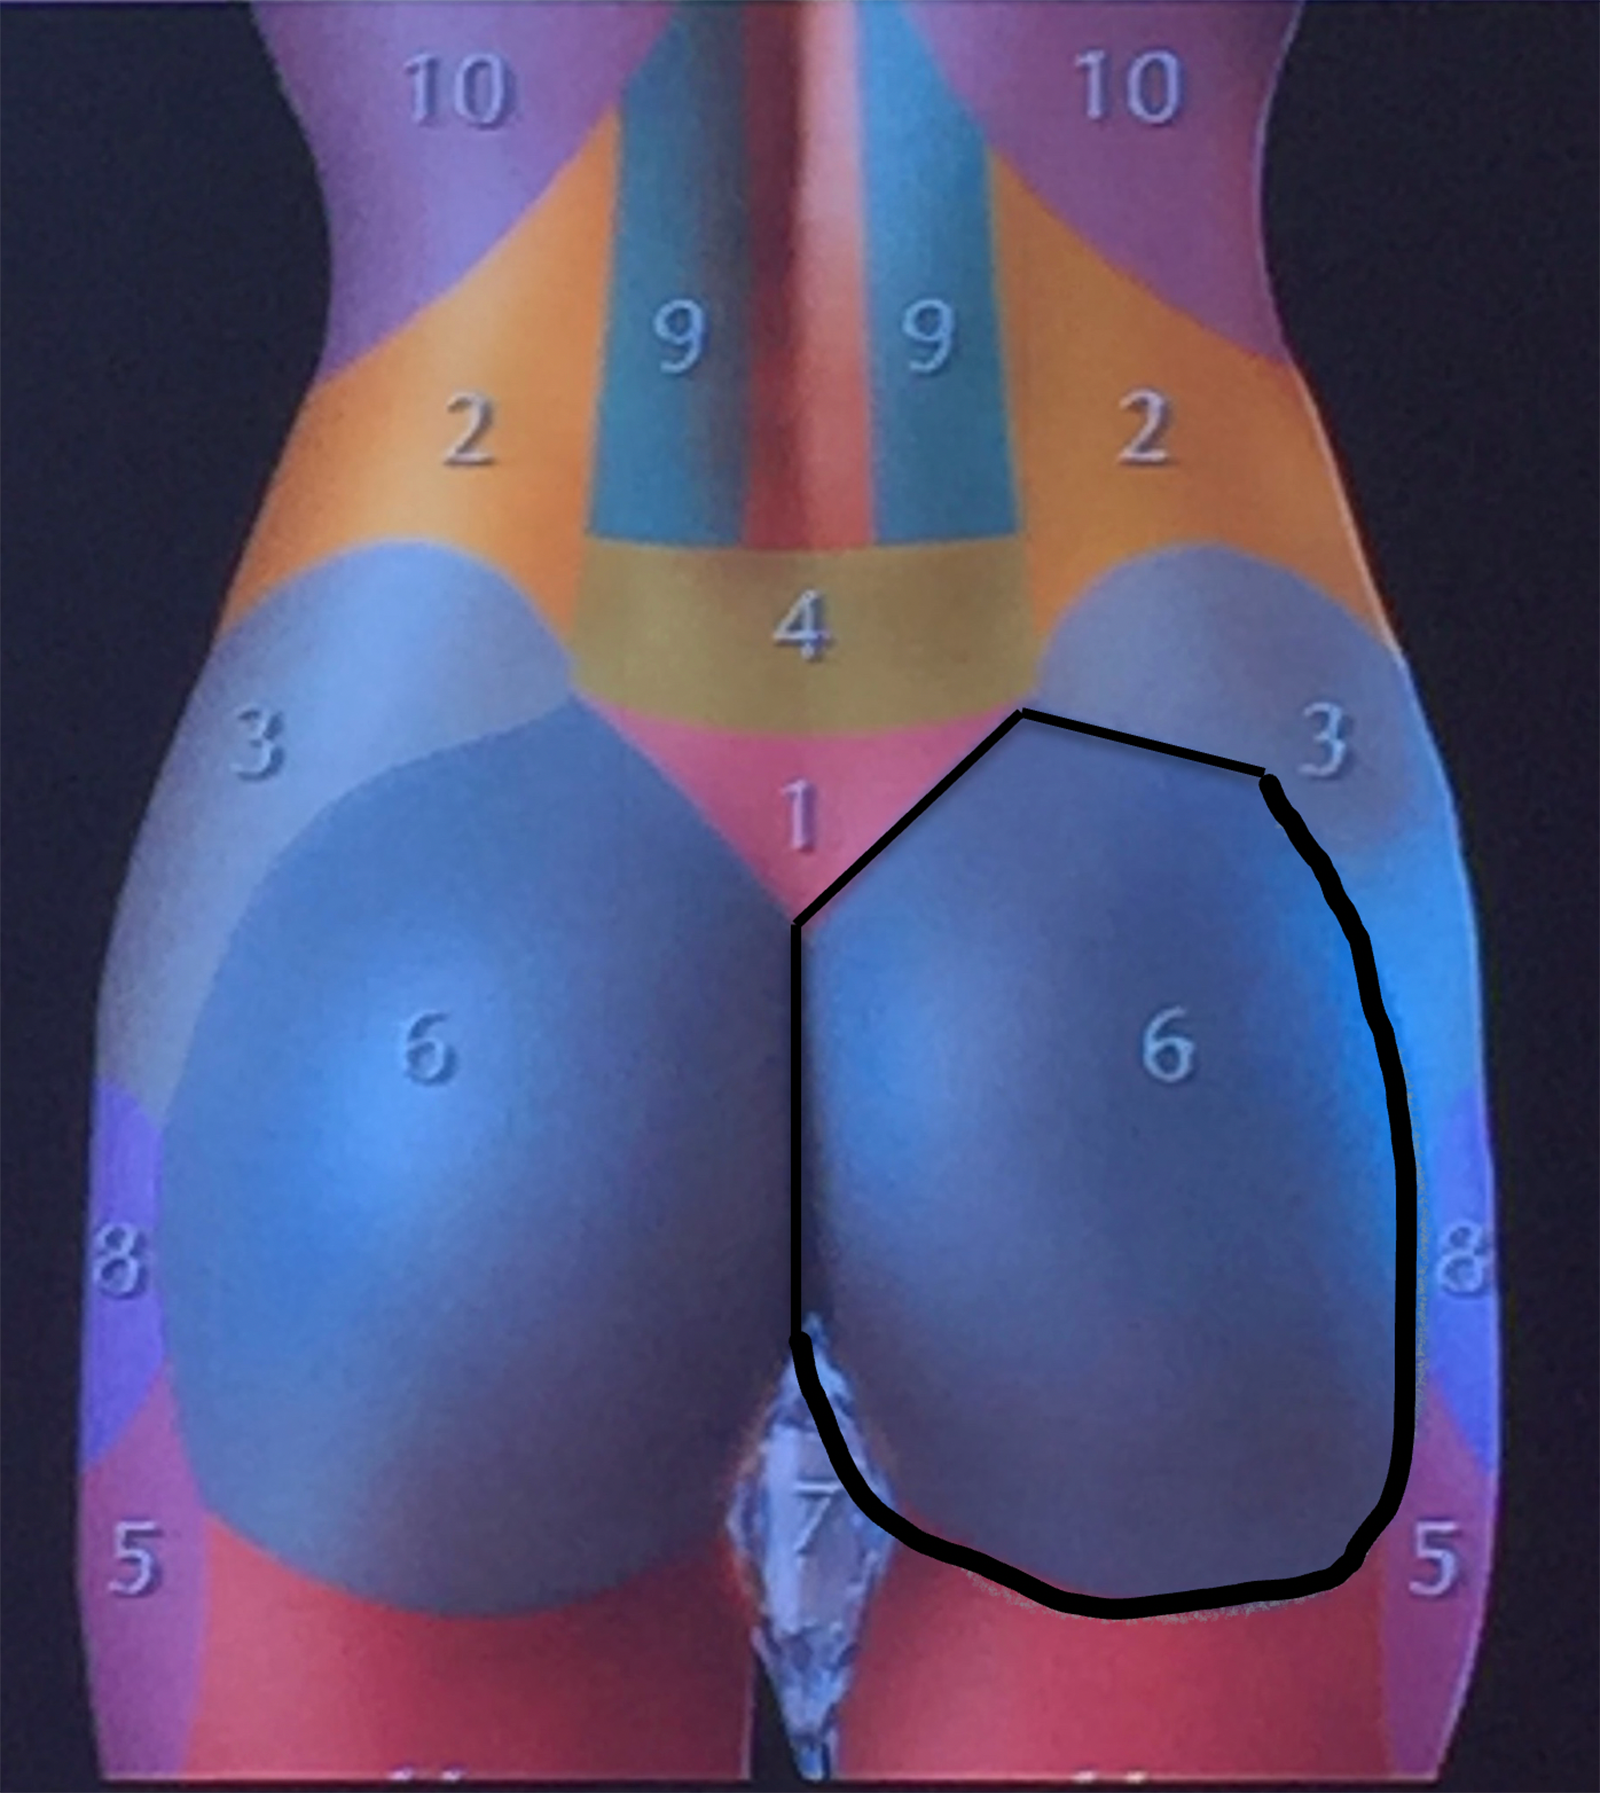
Define the gluteal outline before reading smaller subdivisions. The limits page connects the regional boundary with the surface planning framework.
Keep the gluteal region and the transition toward the thigh conceptually distinct.
Clinical sequence · Step 07 of 16
Planning framework
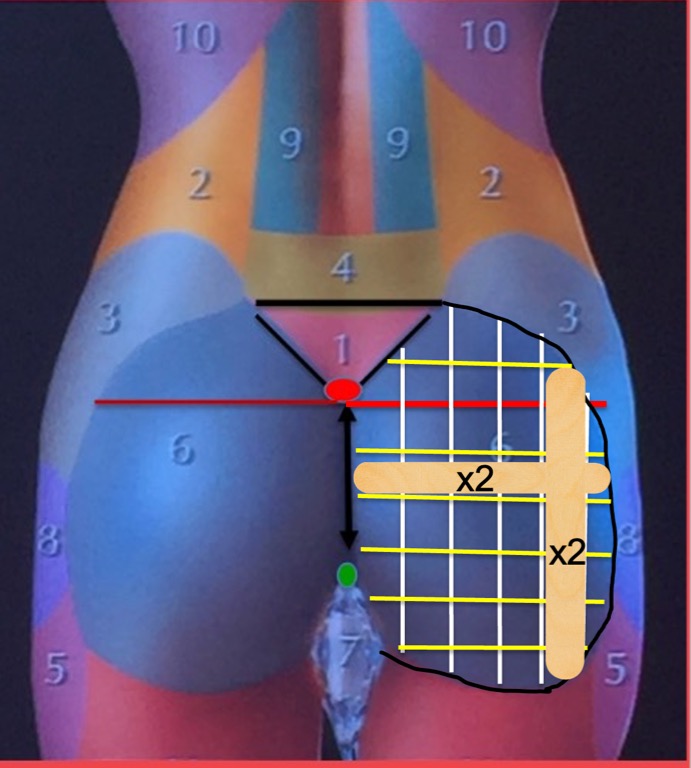
The original sequence presents a grid of 2 × 2 cm squares. The illustration helps the reader recognize the organization of rows and columns within the gluteal map.
A grid is a planning reference; it does not independently determine a patient’s treatment.
Clinical sequence · Step 08 of 16
Clinical boundaries
Read the restricted-area reference before interpreting the planned directions. This stage gives the boundaries their own place in the sequence.
Use the dedicated regional reference together with the patient’s anatomy and medical assessment.

Clinical sequence · Step 09 of 16
Directional planning
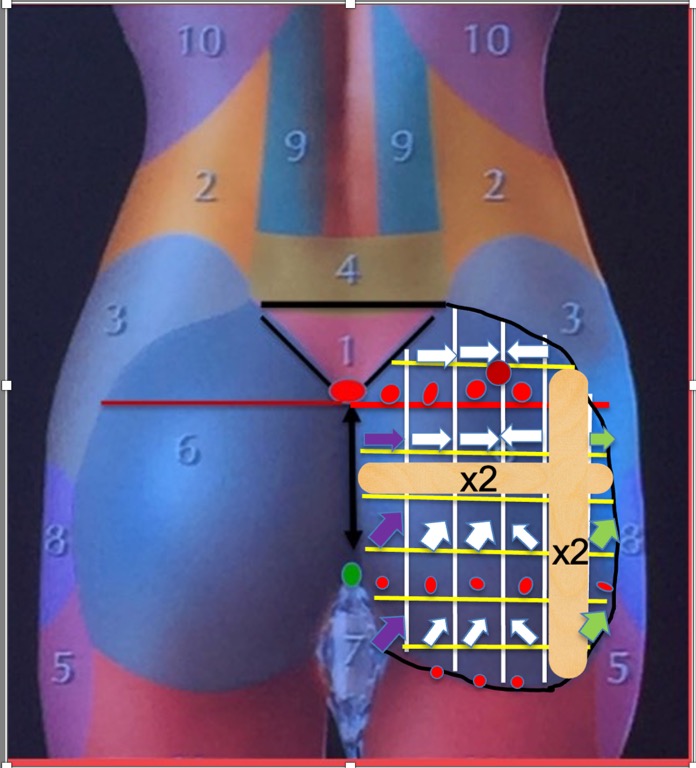
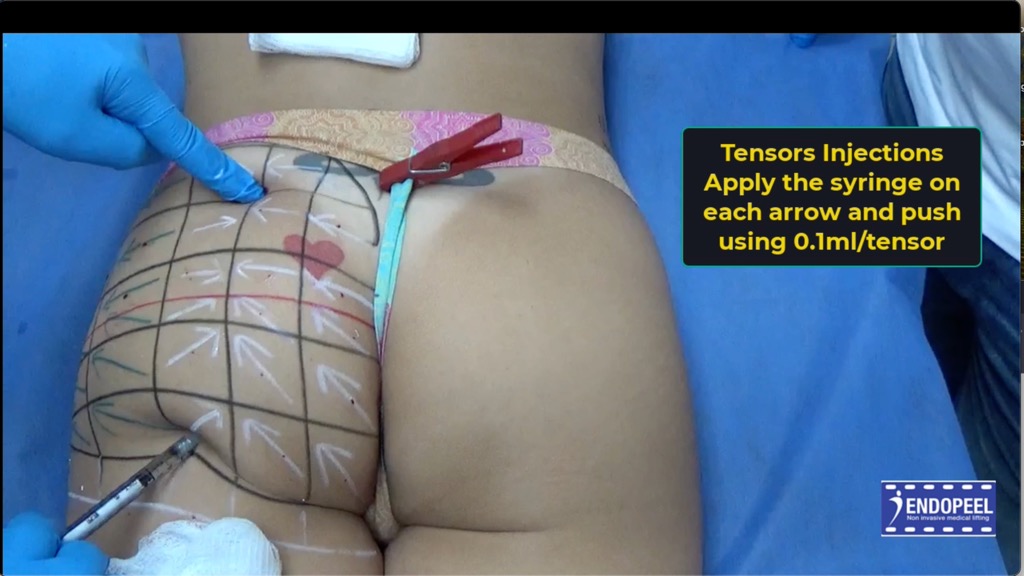
The original workflow introduces vectors and tensors after the surface map and restricted areas. The illustration brings the directional framework into view.
Read the directions in relation to the intended contour and the preceding landmarks.
Clinical sequence · Step 10 of 16
Contour transitions
The infragluteal fold is the crease at the lower gluteal contour. Keep it distinct from the broader region below it when reading the clinical sequence.
Review the dedicated fold reference before moving to the infragluteal area.

Clinical sequence · Step 11 of 16
Contour transitions
The infragluteal area is the region below the buttock and its transition toward the proximal posterior thigh. It deserves a separate assessment from the fold.
Keep the area and the fold separate in the clinical discussion.

Clinical sequence · Step 12 of 16
Clinical preparation
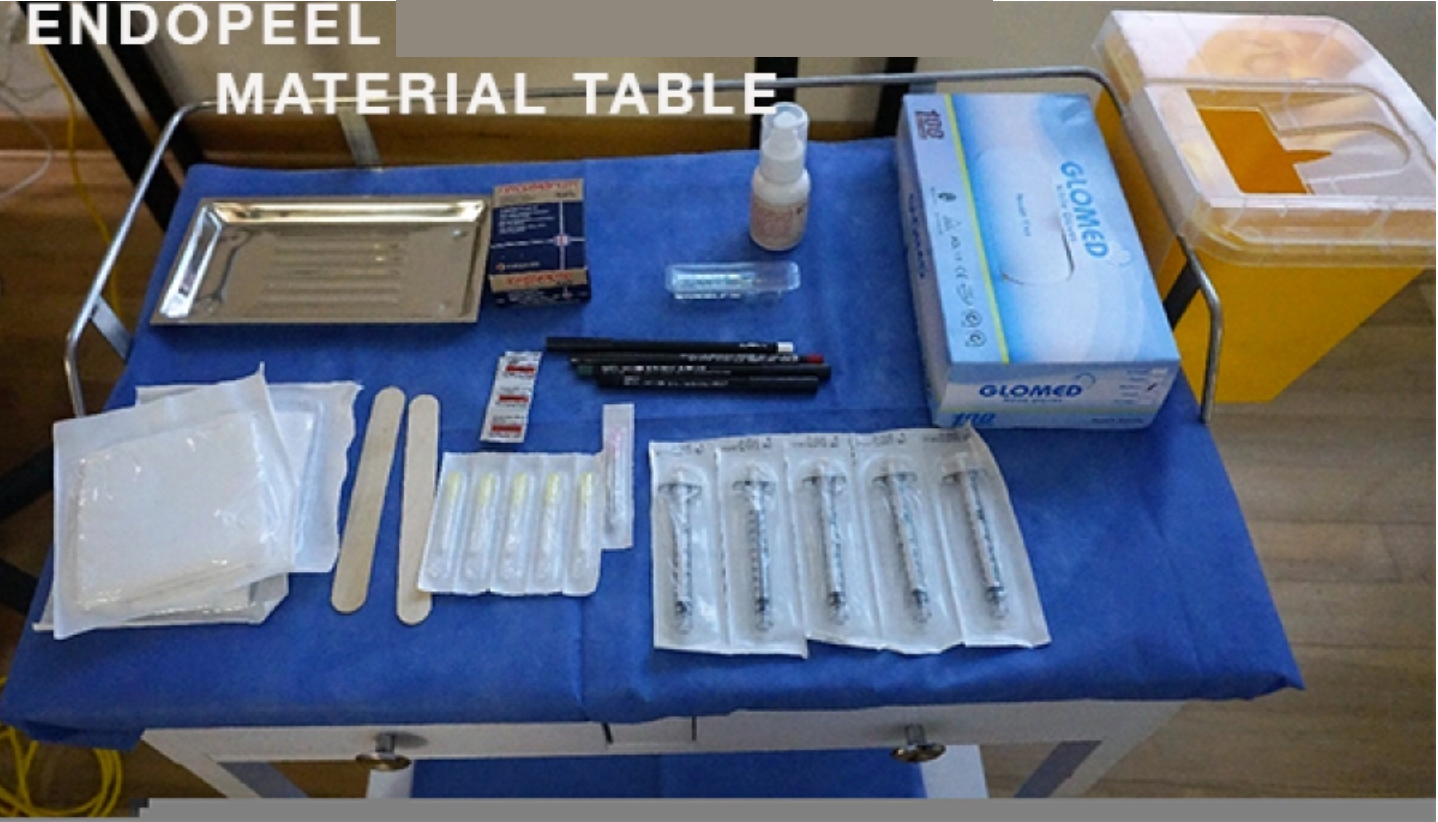
Preparation of the product, syringes and needles is a dedicated stage in the original sequence. Follow the applicable product instructions and professional protocol.
Use the detailed preparation resource and the current professional instructions.
Clinical sequence · Step 13 of 16
Clinical preparation
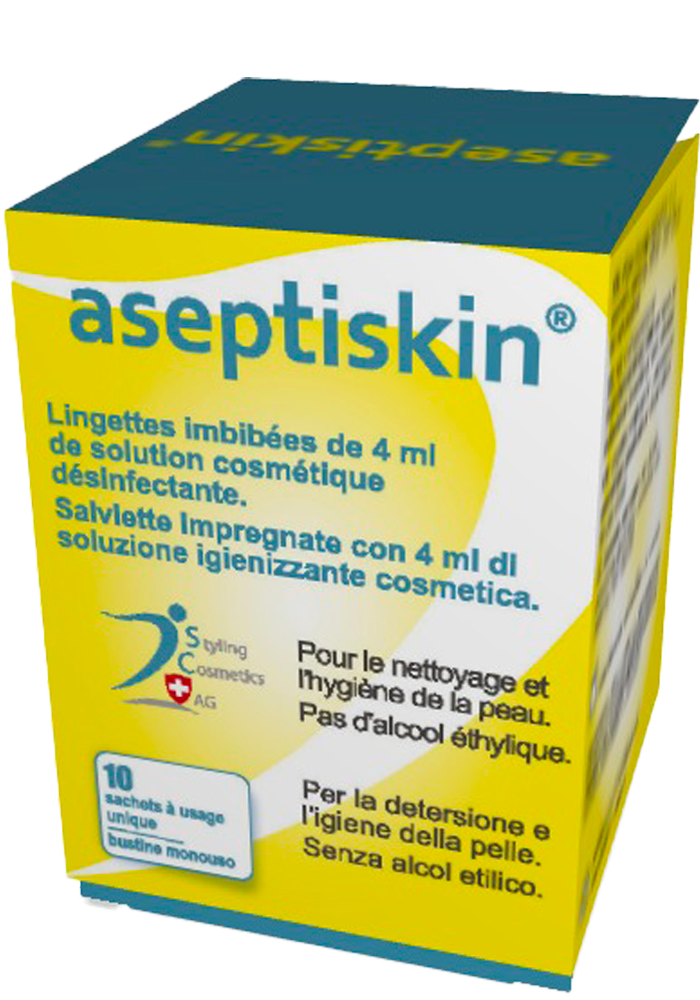
The disinfection stage follows product and equipment preparation in the original pathway. It belongs within the clinician’s aseptic preparation protocol.
Open the site’s disinfection reference for the original educational material.
Clinical sequence · Step 14 of 16
Professional treatment
The original workflow places injections after assessment, mapping and preparation. This overview introduces that stage and directs trained professionals to the dedicated resource.
The procedure requires appropriate training, applicable product instructions and a patient-specific medical plan.
Clinical sequence · Step 15 of 16
Professional treatment
The projection stage connects the intended change in contour with the preceding clinical plan. Read the dedicated page alongside the vector and tensor reference.
Evaluate the intended contour in the context of the individual patient.
Clinical sequence · Step 16 of 16
Clinical review
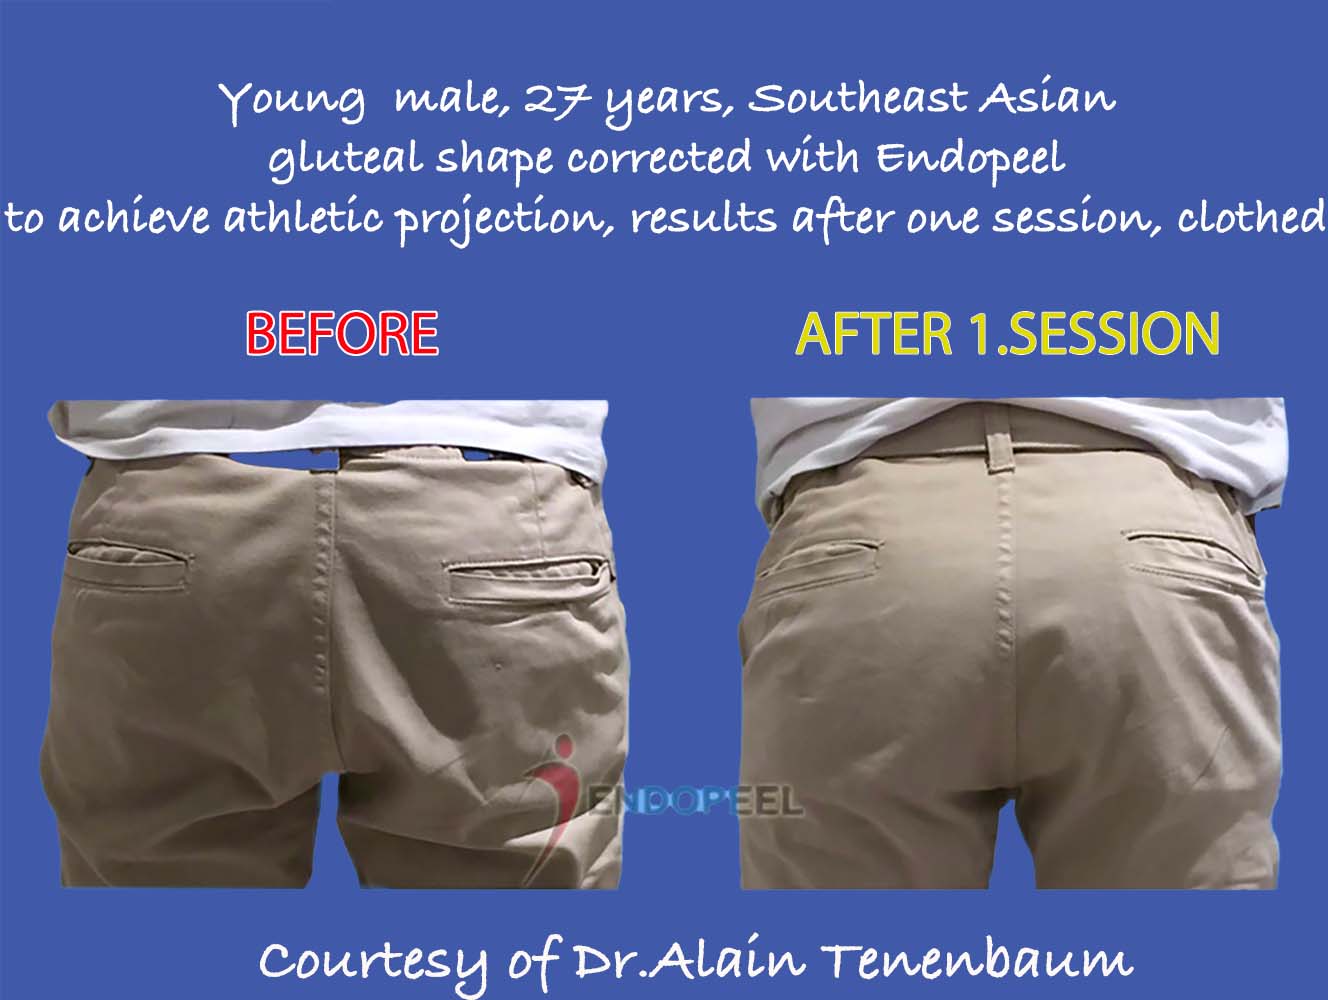
The final stage of the original sequence introduces immediate results. Read the initial observation alongside the clinical results atlas and the longer-term review.
An immediate image is one point in the clinical journey; it does not establish the later outcome.